Sunday, August 30, 2009

Herbed Croutons

I like simplicity. I happen to like simplicity almost as much as chocolate, bread and wine. And when it comes to cooking, I really like simplicity. (But for some reason, simplicity goes out the window on the weekends. As in, can I make things any more complicated and time-consuming?)

When I walked into the kitchen this afternoon several vine ripened tomatoes and a bag of Chicago hard rolls were staring back at me. I originally intended the tomatoes for fresh salsa. But this afternoon I decided to roast the tomatoes and make herbed croutons out of the rolls.

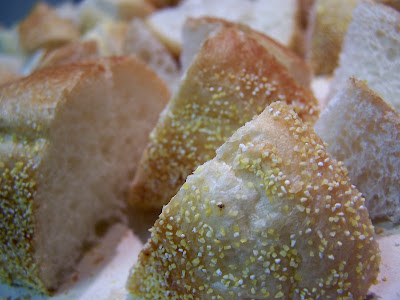
I diced up all 6 rolls into bite-sized pieces.


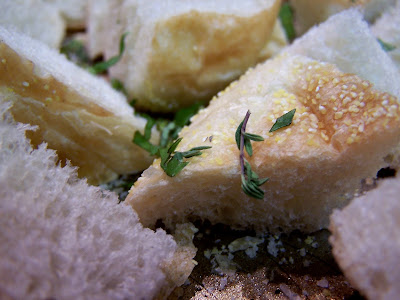
Then I added fresh thyme and fresh basil.


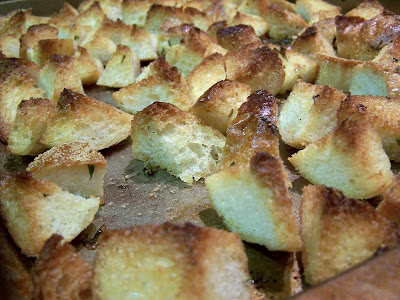
And after drizzling with a generous amount of olive oil (about a 1/4 cup total) I baked the croutons at 450 for 7 minutes.


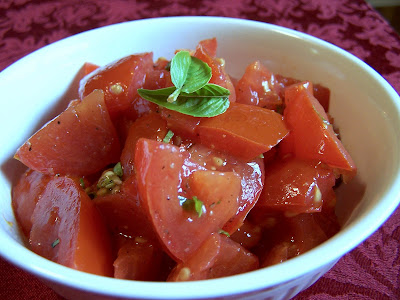
As for the tomatoes, I suspect they'll meet a splash or two of balsamic vinegar before being poured over a layer of the herbed croutons. Yummy.

Saturday, August 29, 2009

Caramel Project, Part II

The verdict is in and éclairs were the chosen shape of the day (versus puffs).

To make éclair shells, you must begin with Pâte à Choux. It's a very simple process but requires the patience in stirring for the minute required (and also requires a strong arm!). Thankfully throughout my research and cooking experience, I have never seen a recipe different than this recipe which happens to be the same as Julia's. I like this consistency because trial and error to find the best recipe is not always fun and exciting.

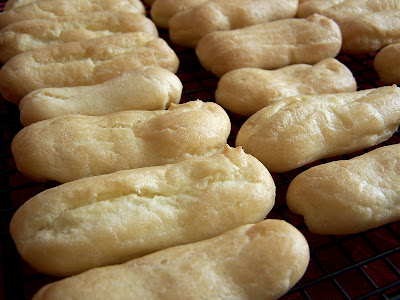
Thankfully, these little darlings were perfectly petite and portioned. And it took a few tries to determine the best piping size for the best éclair shell. And I love that each one is unique and different from the next. Nothing remotely close to perfection here.


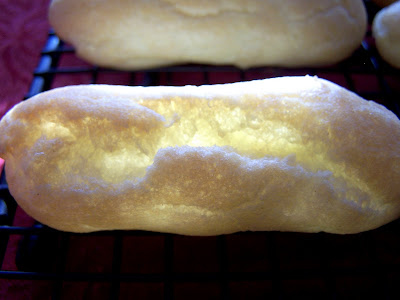
Pâte à Choux makes such a unique pastry case; sturdy on the outside but tender on the inside, with its interior easily giving way to whatever filling you choose to introduce. They're so delicate, you can even see the sunshine peering in through the windows to fill the éclair shells.


For these éclairs, I made a slightly sweet but very rich caramel pastry creme of caramel sauce, heavy cream and mascarpone cheese. Sublime and heavenly. Simply luscious. And fattening. Really, really fattening.


What I'm currently debating is how to dress the éclairs - caramel, chocolate, nothing? (If I actually had readers I could pose the question to more than the viral void.) So, I'm left wondering... how to dress? And I must wonder quickly since they're bound to go fast in this house.

Caramel Project, Part 1

This morning I began what I believe will be the laborious process of making caramel éclairs. (I've debated whether to make éclairs or crème puffs, but the only difference is the size – an éclair is long and thin while a puff is round and slightly taller.)

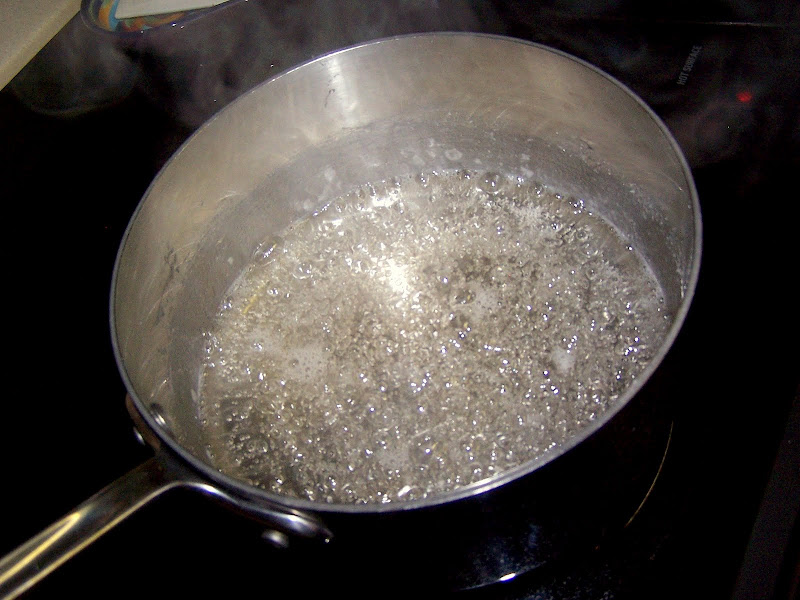
Part 1 is making the caramel sauce. Begin by combining sugar and water in a medium saucepan. Over low heat, allow the sugar to melt completely. Once melted, increase the heat to medium-high and allow the sugar syrup to boil.


Continue to boil until it becomes golden in color; about 8 minutes. Remove from heat and pour in 1 cup of heavy cream. (The mixture will bubble loudly.) Whisk to thoroughly combine the caramel and heavy cream. Add in a ½ teaspoon of good vanilla extract. Strain into a glass container and allow to cool to room temperature before moving to the refrigerator to completely cool.

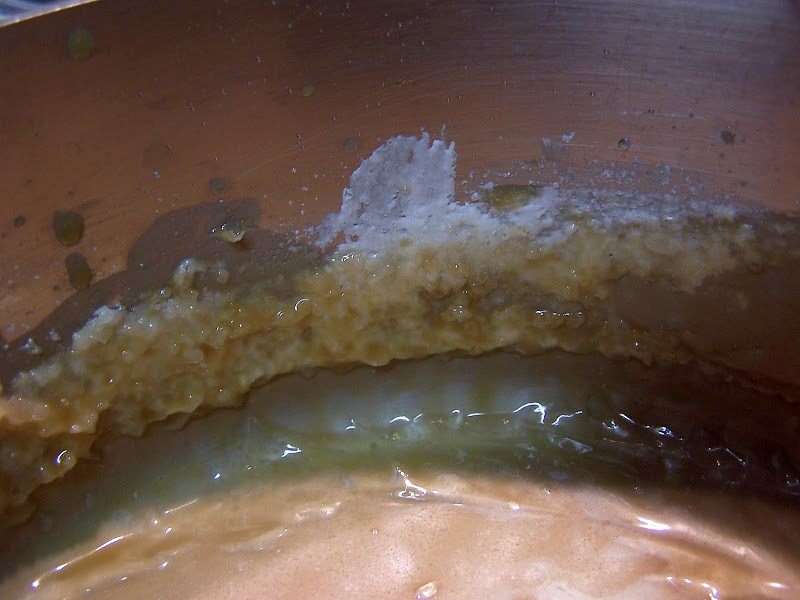
Now, if you're me, you're going to see this happening in the pan and think, "What the?"


But despite my culinary doubts and angst thinking I'd just wasted 1 ½ cups of sugar and 8 ounces of heavy whipping cream, my doubts were quickly cast aside when my taste buds met the beautiful combination of water, sugar, cream and vanilla. Good gracious. My hips just can't take it.

Up next: crème puffs

Monday, August 24, 2009

Caramel Crème

What happens when you combine caramel sauce, with a mixture of mascarpone cream and whipped cream? You get something so devilishly good that my mouth is already watering and my thighs are preparing for combustion.

This concoction has got me thinking about making Caramel Crème Puffs drizzled with a chocolate caramel sauce. This means I'll combine Julia's delicate Pâte à Choux with a light caramel crème followed by a caramel sauce (somehow combined with chocolate). And just to add insult to injury, some toasted chopped almonds would be a nice contrast.

Making Julia's Pâte à Choux will bring me to Recipe #2. And yes, I've yet to take on croissants. But it's more about finding 12 hours to tend to the dough.

Sunday, August 23, 2009

Cannoli Cream Cupcakes

A distressing, culinary itch presented itself earlier this week - cannoli. (I have a long time love affair with cannoli, dating back to my adolescence when my parents took me to a favorite Italian restaurant every year for my birthday.) But even when I realized I could scratch the itch by visiting a local Italian restaurant, it wasn't enough. I had to take it further and do more than just eat a cannoli, or make cannoli or make a copycat recipe from the Internet. Oh no... just like most everything else in my world, I had to over complicate.

After several days of research and recipe reviews I concocted a recipe for cannoli cream-filled cupcakes, marrying several different ingredients and methods. Filled with classic cannoli ingredients like ricotta cheese, cinnamon and chocolate I was hopeful these would scratch my cannoli itch. And boy, did they ever.

Cannoli Cream Cupcakes
makes 18 cupcakes

Cupcakes
3/4 cup butter (1 1/2 sticks) at room temperature
1 3/4 cups sugar
3 eggs at room temperature
1 teaspoon vanilla extract
1/2 teaspoon almond extract
3 cups cake flour
1/2 teaspoon baking powder
1/2 teaspoon baking soda
1/2 teaspoon salt
3/4 cup low fat buttermilk

Preheat oven to 350. Line 2 cupcake pans with a total of 18 cupcake liners. Set aside.

Using a stand mixer with a paddle attachment, cream together the butter and sugar until pale (about 5 minutes). Add the eggs, one a time, beating well after each addition. Add the vanilla extract and almond extract.

Measure the cake flour by spooning into a dry 1 cup measuring cup and level the cake flour with a knife. Combine the 3 cups of cake flour with the baking powder, baking soda and salt. Whisk flour mixture with a wire whisk.

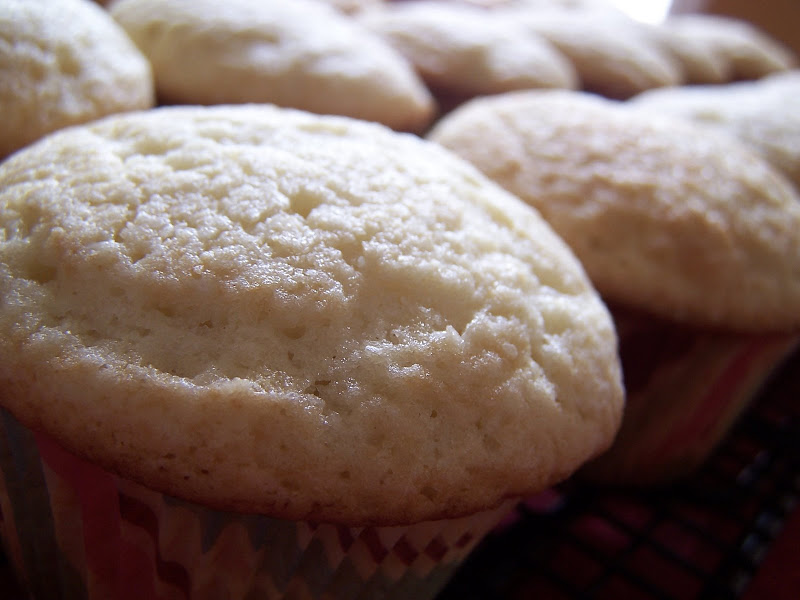
Add the flour mixture and 3/4 cup buttermilk alternately to the butter and sugar mixture, mixing well after each addition, and beginning and ending with the flour. Use a standard size ice cream scoop to fill prepared cupcake liners. Bake cupcakes for 16 - 18 minutes or until a toothpick comes out clean. Cool cupcakes for 5 minutes in the pan, then transfer to a cooling rack and allow to cool completely.
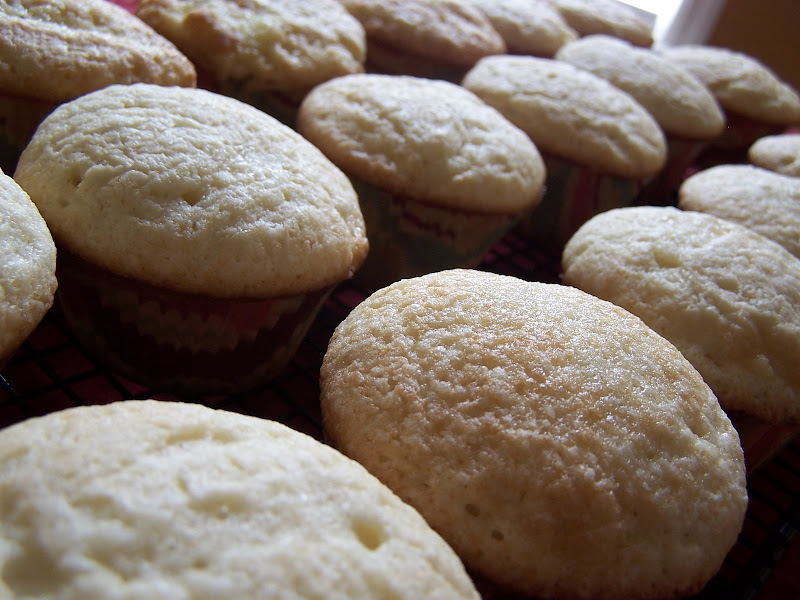

Fluffy, and so pretty.

Cannoli Cream
15 oz. ricotta cheese (thoroughly drain in a wire strainer for at least 8 hours, or overnight*)
1/2 cup confectioner's sugar
1/8 teaspoon cinnamon
1/2 teaspoon vanilla
1/8 teaspoon almond extract

*This is a step you MUST not skip.
Combine strained ricotta cheese and remaining ingredients until well blended. Set aside.

Frosting
3 tablespoons butter at room temperature
3 tablespoons half and half (or milk)
1 3/4 cups confectioners sugar
1 teaspoon vanilla extract
2 cups heavy whipping cream

Using a hand-held mixer, beat together butter, half and half, confectioners sugar and vanilla until well combined and smooth. Using a stand mixer with a whisk attachment, beat whipping cream until soft peaks form. Fold sugar mixture into whipped cream, careful not to over mix.

To fill the cupcakes, fill piping bag with cannoli cream.
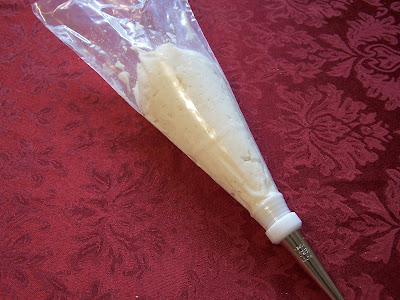

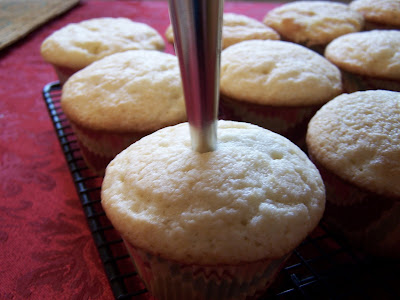
Using a decorating tip (recommended Wilton Bismark Tip 230) hold filled bag perpendicular to cupcake inserting dip 1-inch deep into the center of the cupcake. Squeeze a small amount of cannoli cream into the cupcake. Set aside until all cupcakes are filled.

To frost the cupcakes, fill a clean piping bag with frosting. Using a decorating tip (recommended Wilton Star Tip 1M) frost each cupcake beginning on the outer edge, piping inward towards the center of the cupcake.

If desired after frosting the cupcakes, lightly dust with shaved bittersweet or semisweet chocolate shavings.
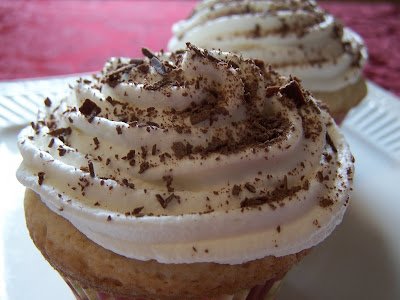

And when you take a bite, nestled inside the moist and slightly sweet cupcake is the cannoli cream filling.
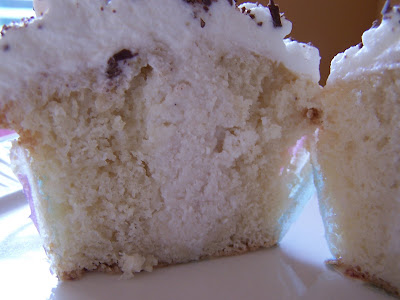

Delicious!
Sunday, August 16, 2009

Aromatics and Sweet Stuff

This past Sunday was a busy day in the kitchen... baking, blanching, whisking, rolling, zesting and glazing to name a few. I had a specific task to complete - cooking a full meal for someone I don't know.

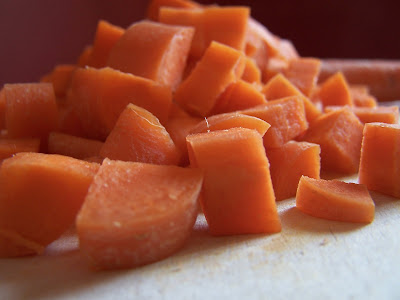
The day started with several aromatics, like carrots, to make Ina Garten's Chicken Stew with Biscuits.


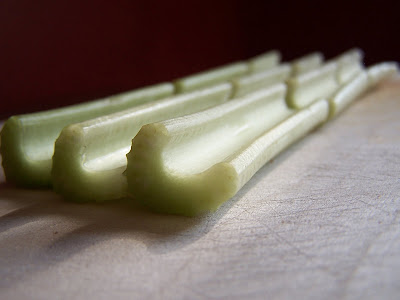
And celery.


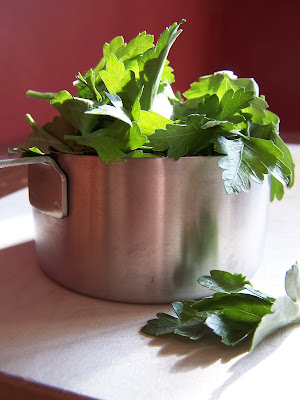
And parsley. Beautiful parsley.


A naked lemon.


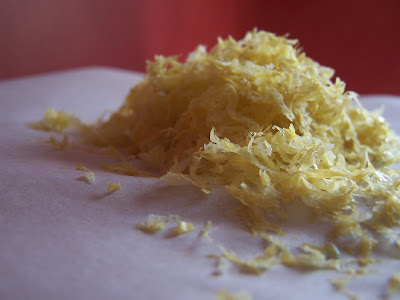
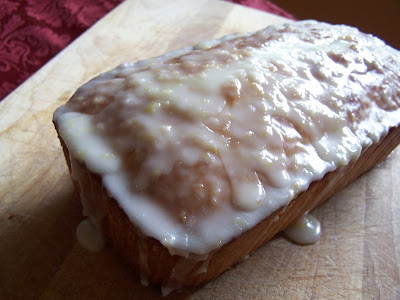
Fully zested to make Ina Garten's Lemon Cake.


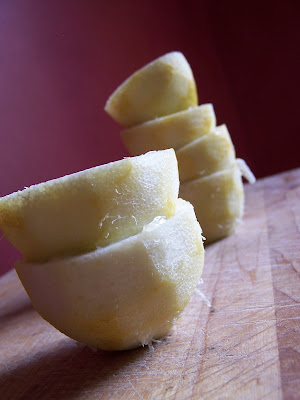
Poor lemons. They got reamed.


And fell down.


All to make this really good!


Next, I'm taking several Cannoli Cream Cake recipes and modifying for cannoli cream-filled cupcakes, laced with a few drops of marsala wine. Meanwhile, I'm still attempting to conjure up the courage to make Julia's Croissants. Not sure if it's really courage that I need, but rather time. A whole 12-hour block of uninterrupted time. Maybe while the rest of the house is sleeping?

Sunday, August 9, 2009

Recipe #1: French Chocolate Cake with Chocolate Glaze

Well, I did it. I kept the vow for the first day and chose a recipe from one of my all-time favorite cookbooks - The Best of Bon Appetit. (I happen to think it's pretty close to biblical in the world of cookbooks.) There's a plethora of gems tucked within those pages; gems that could easily spell the quick demise of the pounds I've recently shed.

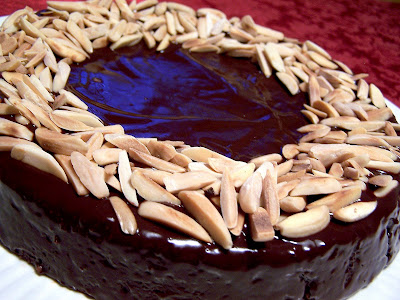
Today's recipe was French Chocolate Cake with Chocolate Glaze. Sublimely simple ingredients and calculated preparation made for a sinful, yet delicate cake.

I've both read and heard that the key to ensuring a pleasurable result in most any recipe is to start with the best of ingredients. If you can, this is the place to splurge and indulge on things like chocolate.


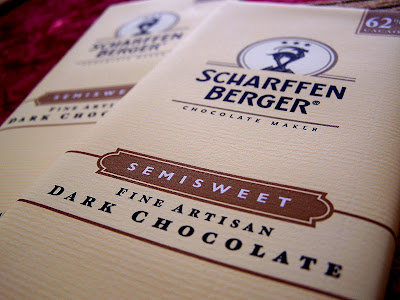
Semisweet dark chocolate is irresistible.


Especially when the logo is so curious.


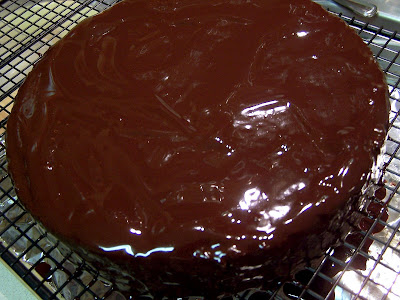
And when it's melted with unsweetened chocolate, butter and honey, it results in the perfect velvety bath for a cake laced with butter, sugar, eggs, ground almonds and breadcrumbs. Yes, breadcrumbs.


And what you have at the end is pure bliss.


One thing I concluded today was to focus solely on the recipe itself, taking far less pictures than I have before. I'm primarily focused on teaching myself (and perhaps achieving some uncomplicated personal goal) so I will rely on the principle of the recipe itself. And another thing, I believe in practicing something my mother drilled into me - read the recipe once, twice, and many more times before beginning. All too often a recipe can fail by missing one word - or in my case, looking at the wrong recipe when referring back to it for the instructions. Rather than spooning out dough for snickerdoodle cookies, I packed the dough into a 9-inch by 9-inch pan as though I was making snickerdoodle brownies.

Thankfully the French Chocolate Cake recipe was a hit, even though one key ingredient was omitted - orange zest. Instead of having a panic attack standing in the middle of our kitchen, I opted to forge ahead. But after tasting the rich and delicately tender cake, I believe it may have benefited from the orange zest. The zest would have added a subtle dimension. But as my husband pointed out, I can make it again. (Although he must like it fine since he's on his second piece.)

Best of all, I've joined my love of cooking with my fear of the uncomfortable and quest for control into something that feels as much awkard as it does rewarding. The love definitely came from parents and their love of cooking. From my mother's Beef Wellington to Scallop and Mushroom Pie, or my father's Vichyssoise and Au Gratin Potatoes - and every "normal" thing in between - it all came from them. Thanks mom and dad.

As I'm currently planning, the next recipe will be Julia Child's croissants - perhaps as early as this weekend. And since I read the recipe before hand, I've already started attempting to commit the recipe to some form of my memory. It's a total 12-hour process to create 50+ layers of dough.

Copycat

I love to cook. I mean, I really love to cook. Starting as a young girl crafting and molding inedible mud pies in our backyard to one day dreaming of cranking out sublime, lighter than air pastries. Those dreams have never completely come true, and I'm not quite sure why. Perhaps it's time, fear, laziness or just plain a lack of ability.

I watched my parents cook for years; mainly my mother. But my father jumped on the bandwagon at one time, tackling one of the simplest of cuisine - French. I can't precisely recall how exactly he came to buying Mastering the Art of French Cooking - Volumes One and Two, but suddenly there were multiple pieces of Le Creuset (cookware) and quarts of heavy cream covering an entire shelf of our refrigerator.

While Mastering the Art of French Cooking - Volume One resides in my father's kitchen (I must plot its escape into my luggage during our next visit) I happen to have Volume Two; a notably very different set of recipes and techniques than its predecessor. What's the same is the simplicity in which recipes are based; simple ingredients and simple preparation. And today ingreidents are much more accessible than almost 40 years ago (when Volume One was published).


And after seeing Julie & Julia last night my desire to kick off my shoes and get into the kitchen is as strong as ever. (But my track record as a "food blogger" isn't so good... I've started and stopped numerous times, telling my husband it's stupid and silly. And I've always felt my photography skills were too weak to do any food the right justice. But that's hopefully all in the past... for now.) At this very moment, I'm actually contemplating being a true copycat [of Julie Powell and her Julie/Julia Project] and tackling a predetermined list of Julia Child recipes from Volumes One and Two. There are some very personal favorites, like Vichyssoise, Boeuf Bourguignon and Julia's scalloped potatoes with nothing more than potatoes, butter, salt, pepper, Gruyere and heavy cream. (There are remains, still, of these delectable potatoes on my hips consumed during my adolescence.)

Now I've been inspired to tackle the recipes of foods I happen to love (and happen to consider to be the Holy Grail of foods). Recipes of foods I can't find plentiful here in the south. Recipes like brioche; a simple egg bread but easy to completely destroy.


And cream of mushroom soup. (This Volume Two receipe is a simpler verson than its Volume One partner.)


And then there's Italian meringue, or what we Americans refer to as "Chantilly cream".


But, undoubtedly, there's one recipe I have never dared to approach. But I'm hopeful to conjure up the courage, although the entire recipe spans 7-1/2 pages.


And I can find one place where my parents noted a favorite; beef.


It happens to be the only folded page in the book so it must have been important.


And here's where my mother or my father noted the importance of searing the beef for Julia's Beef Stew with Onions and Red Wine.


Thankfully I've approached and tackled difficult recipes before, and have made repeatedly because they were a success.


It comes from this cookbook.


Bless its heart; it has seen better days.


And since I've had success with this cookbook, I'll take on what I believe are some of the easier recipes. (Could be famous last words.)


Which starts with this...


So, in short, today I'm going to create a list of recipes from Mastering the Art of French Cooking - Volume Two and The Best of Bon Appetit; my very own, personal version of a copycat project. To time constrain or not to time constrain? After all, that's what Julie Powell did. But if starting and stopping something with discipline is a prerequisite, I'm in trouble. It took me over an hour to write this post because life, being a wife, and motherhood all took priority.

Saturday, August 8, 2009

Honey Basil and Cheddar Cornbread

I happen to think that cornbread could very well reside in its own food group alongside chocolate, meat (preferably beef) and butter. If you think about it, they're all simple and easy to find ingredients and, for the most part, occur completely natural in the environment. And I like that. Cornbread, on the other hand, requires several ingredients; but each also relatively simple to find.

First, you'll need one of the key ingredients - corn. In this case, I've elected to use good old fashioned canned corn - both whole kernel and creamed corn.


Another key ingredient is fresh basil leaves. I happen to believe there is such a significant difference in fresh basil versus dried that when the opportunity to use fresh basil presents itself, I'm happy to oblige.


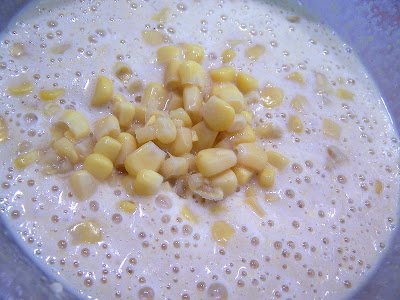
After combining the dry ingredients and adding the wet, in goes the corn.


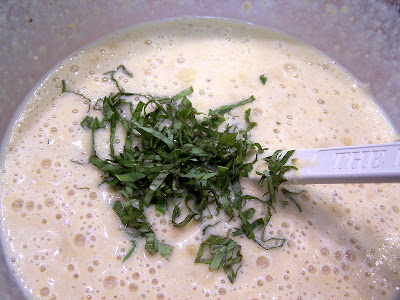
Followed by the fresh basil.


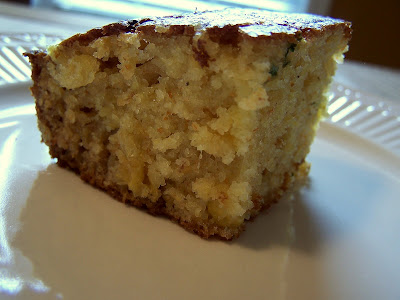
And after all of the hard work, what presents itself fresh from the hot oven is a moist, sweet and slightly crunchy cornbread.


Honey Basil and Cheddar Cornbread

1 cup all-purpose flour
3/4 cup cornmeal
1 tablespoon sugar
1 teaspoon baking powder
1 teaspoon baking soda
1/2 teaspoon salt
1 cup milk
1 egg
1/4 cup honey
1/2 cup canned corn
1/2 cup creamed corn
2 Tablespoons butter, melted and cooled
¼ cup shredded sharp cheddar cheese
1 tablespoon chopped basil leaves

In a medium-sized bowl, combine the dry ingredients – flour, cornmeal, sugar, baking powder, baking soda and salt. Stir to combine.

In a separate bowl, combine the milk and egg. Whisk to combine. Add honey and mix well. Add mixture to dry ingredients. Add corn, creamed corn, cheese, basil and melted better. Stir just until moistened.

Pour into a greased 9-inch square baking dish. Bake at 425 degrees for 30-35 minutes or until a toothpick inserted near the center comes out clean. Cut into 9 squares. Serve warm with softened butter.

Cook's Note: Spice up your cornbread with the addition of a seeded and finely diced fresh jalapeno pepper!

Sunday, August 2, 2009

Artichoke and Mushroom White Pizza

The Tyson household loves pizza. Our love and affection run so deep for pizza, it's almost a 4th member of our household. The youngest of its members eats pizza backwards, devouring the crust first; almost as if to indicate she knows how to save the best for last.

Most of the pizzas in our house start with a pizza crust. The rest is left up to imagination and whatever ingredients reside in the refrigerator or pantry. This artichoke and mushroom white pizza is just that.

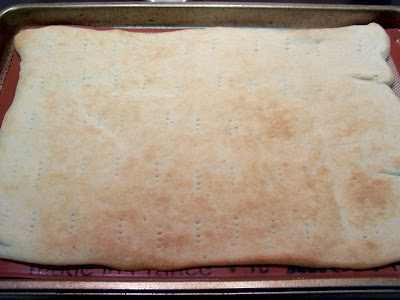
First, begin with a prepared, refrigerated pizza crust. I prefer the thin version.


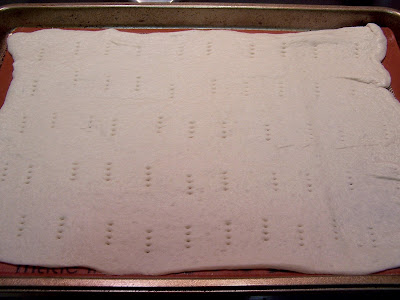
Next, bake the pizza according to package instructions for temperature but bake for only 7 minutes. Notice I've "docked" the crust to prevent to much rising while baking. This is also called "blind baking".


The result is beautifully golden brown. Now, allow the crust to cool while preparing the remaining ingredients.


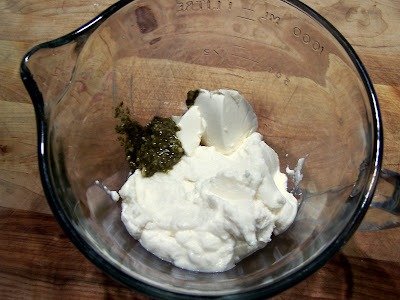
In a small bowl, combine the ricotta cheese, cream cheese, prepared pesto, salt and pepper.


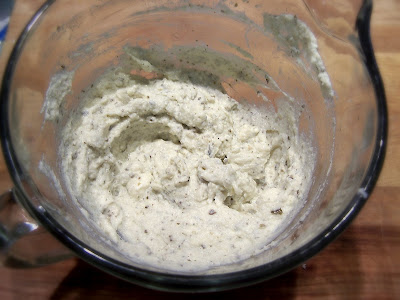
Mix well to combine.


Drain a can of artichoke hearts. (I chose to roughly chop about half of the can and use the remaining half as they came out of the can.)


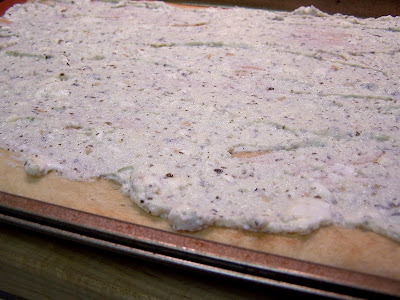
Next, spread the cheese mixture on the cooled pizza crust.


Be sure to spread evenly.


Next, layer the artichoke hearts evenly on the cheese mixture.


For the mushrooms, begin with a blend of exotic mushrooms.


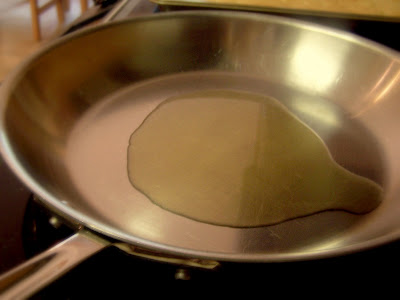
Next, heat 2 Tablespoons extra virgin olive oil in a large saute pan over medium-high heat. Saute the mushrooms approximately 5 minutes, stirring often, until golden brown.


Layer the mushrooms on top of the artichoke hearts.


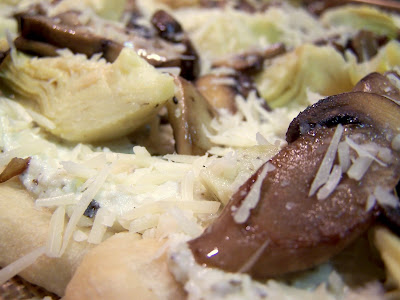
Sprinkle Parmesan cheese over the artichoke hearts and mushrooms.


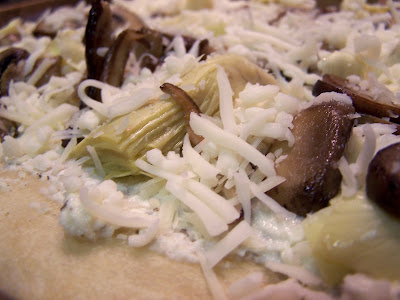
And finally, sprinkle several generous handfuls of mozzarella over the Parmesan.


Bake at 450 degrees for 8-10 minutes or until golden brown.


Scrumptious!


Artichoke and Mushroom White Pizza

1 package Pillsbury Thin Crust Pizza Crust
8 ounces Part-skim Ricotta Cheese
1 tablespoon Light Cream Cheese
1-½ tablespoon Homemade Or Prepared Pesto
1 teaspoon Kosher Salt
¼ teaspoons Freshly Ground Black Pepper
2 tablespoons Extra Virgin Olive Oil
16 ounces, weight Mushrooms (domestic Or Exotic)
14 ounces Canned Artichoke Hearts, Drained
½ cups Shredded Parmesan Cheese
½ cups Shredded Mozzarella Cheese

Begin by preparing the pizza crust as indicated on the package. Bake the crust for 7 minutes. Remove and allow to cool while preparing the remaining ingredients.

In a medium-sized bowl, combine the ricotta cheese, cream cheese, pesto, salt and pepper. Mix well to combine. Set aside.

In a large saute pan, heat 2 Tablespoons of olive oil over medium-high heat. Add the mushrooms and saute for about 5 minutes, or until golden brown.

Spread the prepared cheese mixture over the cooled pizza crust. Layer the artichoke hearts, mushrooms, Parmesan cheese and mozzarella cheese. Bake at 450 for 8-10 minutes or until the cheese is melted and golden brown.